Tip: You can use 1 colour of paper for all layers, or 2 to 3 different colours for contrast.
Tassel garland
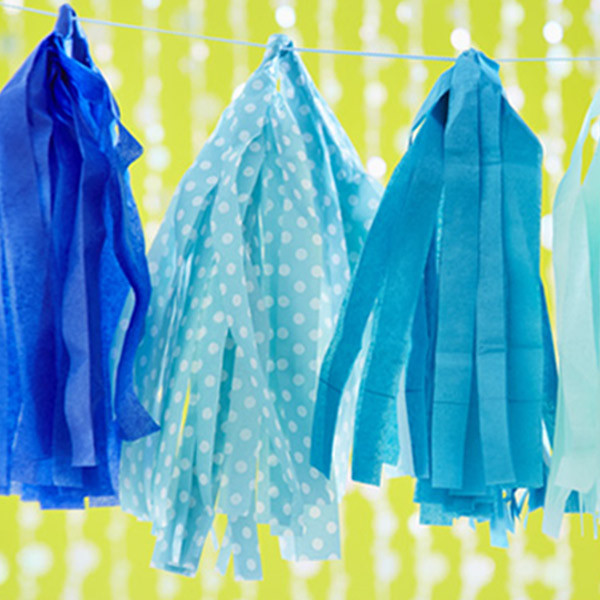
Garland makes every party more festive. This simple tissue paper garland is easy to make and tailor to your party venue, and it won't cost a lot of money. Simply cut tissue paper in your school's colours into strips, twist, hang on a string and ta-dah!, you have a fun tassel garland perfect for decorating the grad's cake table or using for photo backdrops.
Crafter level: Easy
Time needed: 5 minutes per tassel
Inspired? Create and share by tagging @Hallmark_Canada.
Ingredients
- Tissue paper in school colours and complementary colours (about 40 sheets to create a dense 6-ft. garland)
- Rotary cutter and ruler, paper cutter or scissors
- Twine or string for hanging
- White craft glue or clear tape
Directions
- Unfold and lay your tissue paper out flat, with longest sides at top and bottom, and shorter sides to left and right. Layer together 8 sheets.
- Cut strips 1 inch wide by 20 inches long through all 8 layers with rotary cutter and ruler, paper cutter or scissors. (Most tissue paper comes in sheets that are 20 by 30 inches long, so just cut strips from the short sides.)
- Now gather 2 to 3 groups of strips (16 to 24 strips total) at the centre and twist them all tightly together 3 to 4 times. Fold strips in half evenly at the twist and pinch.
- Drape the paper, at the twisted fold, on top of your twine or string. Use craft glue or clear tape to secure it to the string.
- Make more tassels and space them evenly across your twine or string. Then hang it up.