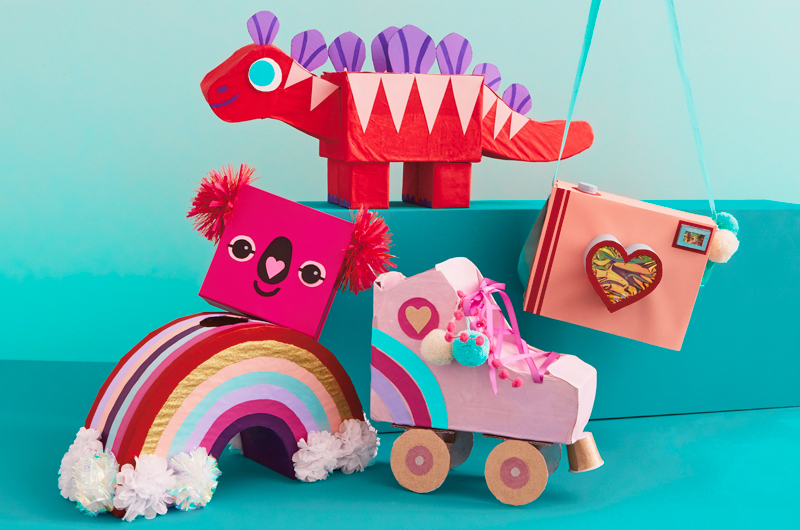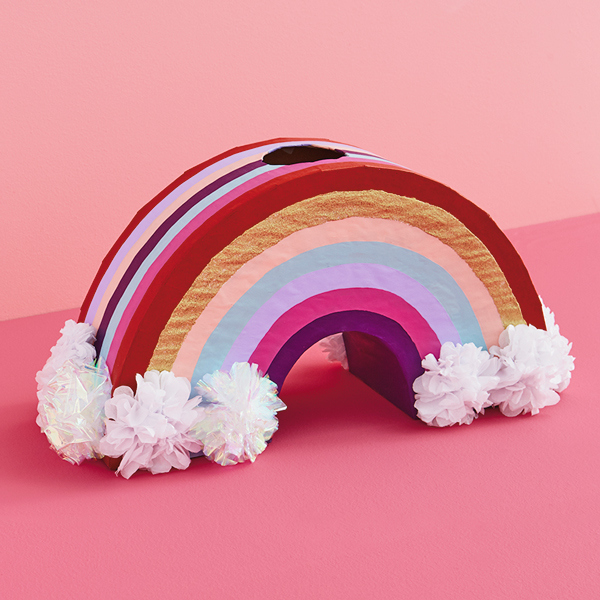
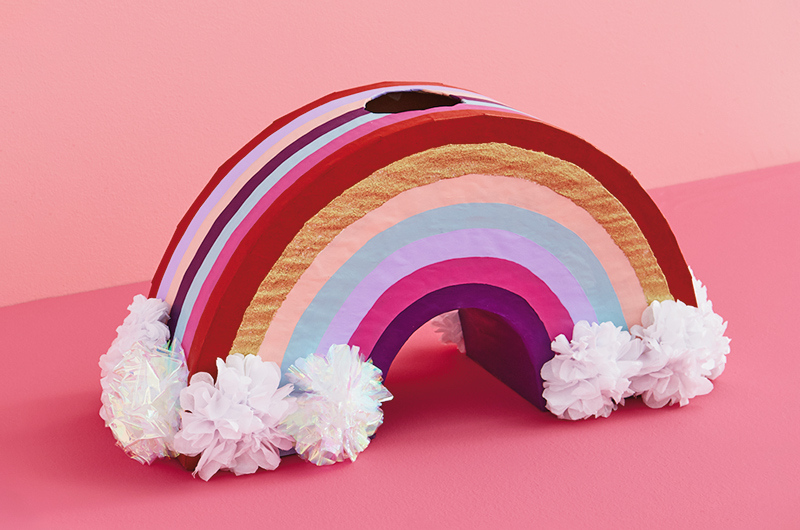
- Get the free download. Download and print the DIY Rainbow Valentine Box template.
- Make the arches. Sketch out the pieces on scratch paper. Then trace onto rigid cardboard and cut out. Approximate size and detail available in the free download. Tape the squares or “feet” of the rainbow to the arches using masking tape.
- Add top and bottom. Cut two strips from the single-face cardboard as wide as the bottom squares. Cut an oval or rectangular mail slot in the strip that will go on top. Attach bottom and top to sides using masking tape.
- Paint or wrap it. To cover up the masking tape, either paint the box white or cover with craft paper (which is what we did).
- Sketch the rainbow. Decide how many colours you want your rainbow to have. Sketch each stripe lightly in pencil to indicate the different coloured arches.
- Paint the stripes. Of course you can do a classic rainbow, but feel free to choose your own colour palette!
- Add glitter. To add sparkle, make a 50/50 mix of glitter and glue in a small jar or bowl, then swipe it on.
- Make the clouds. Scrunch up little balls of tissue paper, make tissue paper flowers, or glue on pom-poms or cotton balls. Whichever you use, simply hot glue them to each end of the rainbow to create clouds.
Go brighten up the party!
Tip: If you’re using something like a cereal box, cover it with a coat of primer or craft paper before you start painting so the existing print won’t show through your design.